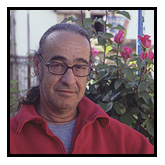
 Durante el desarrollo de un curso, he tenido la suerte de conocer a este artista cordobés entregado a la fotografía desde 1969 (profesionalmente desde 1.984).
En los últimos años experimenta con una técnica alternativa a la fotografía convencional, denominada Escanografía. La Escanografía consiste en obtener imágenes con un escáner de opacos jugando con la composición, el movimiento, la iluminación y los fondos.
A las imágenes capturadas digitalmente con un escáner de formato A4 les aplica un mínimo postprocesado (niveles, brillo/contraste y saturación).
El proceso:
1.- Previsualización y boceto de la imagen que queremos crear.
2.- Preparación de los elementos y accesorios, luces, fondos, cronómetro…
3.- Preparación del escáner: resolución 300ppp, brillo/contraste y color o B/N.
4.- Componer el escenario: distribución de los elementos.
5.- Iluminación.
6.- Elección del fondo.
7.- Intervención o no durante la fase de escaneado.
Respondiendo a su deseo de compartir sus experiencias, ha elaborado un interesante manual donde explica detalladamente como lleva a cabo La Escanografía.
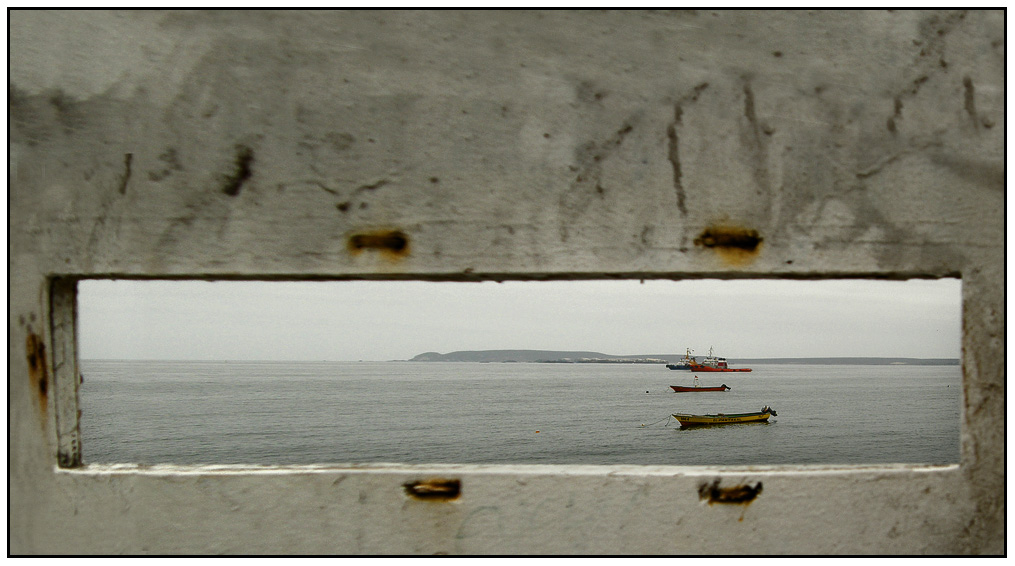
Durante la composición cada elemento debe quedar en su sitio, como una nota musical en el pentágrama de una partitura. Debemos ser capaces de previsualizar la imagen desde «abajo», debajo del cristal del escáner.
Haz clic sobre la imagen para ampliarla.

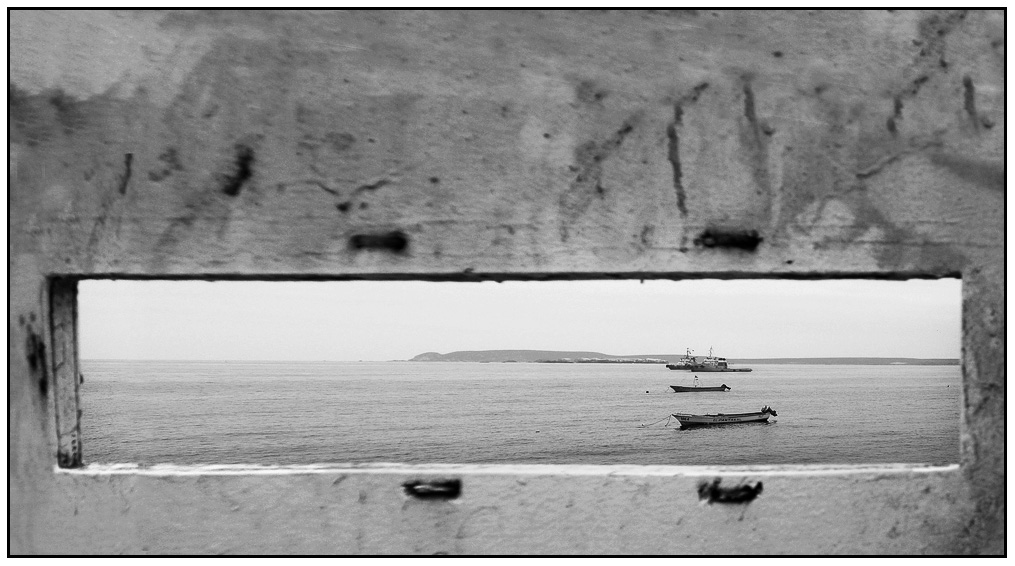
Hace tiempo hablamos sobre el fotocubismo… ahora hablamos de la Composición Múltiple o Multiescanografía. Se realizan varias capturas de un mismo objeto y luego se realiza un nueva composición durante el postprocesado.
Haz clic sobre la imagen para ampliarla.
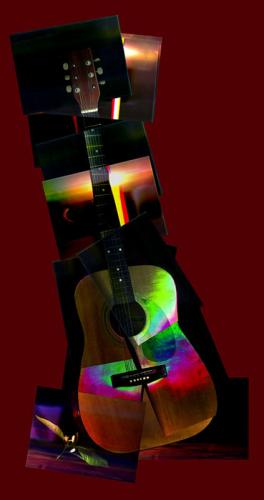
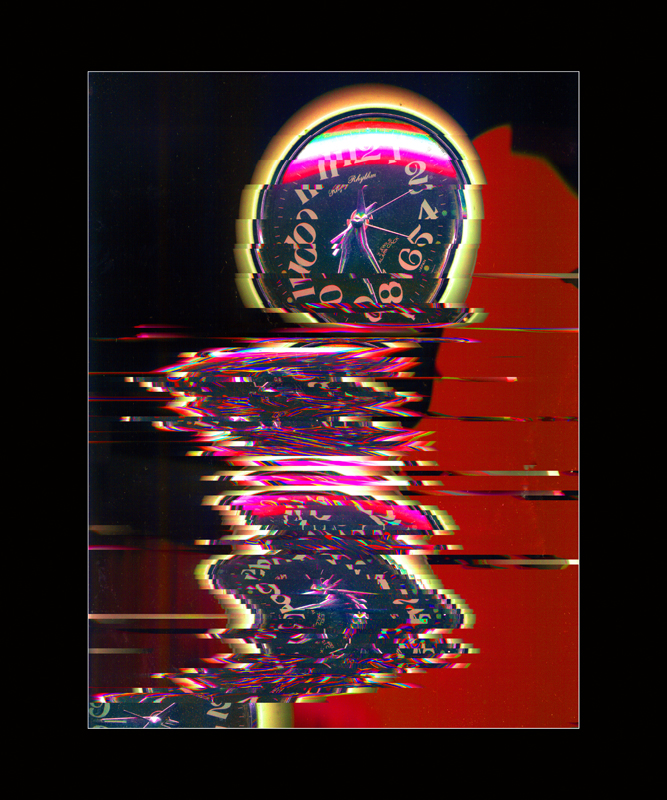
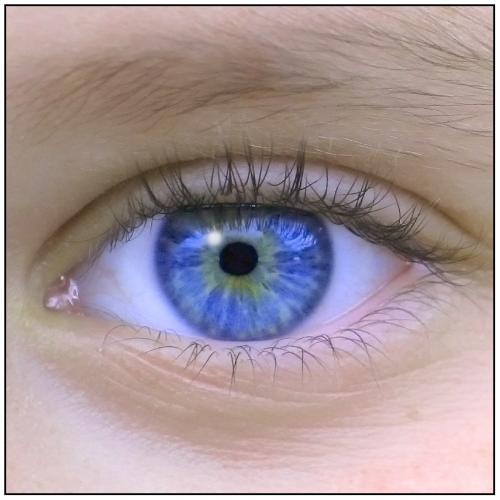
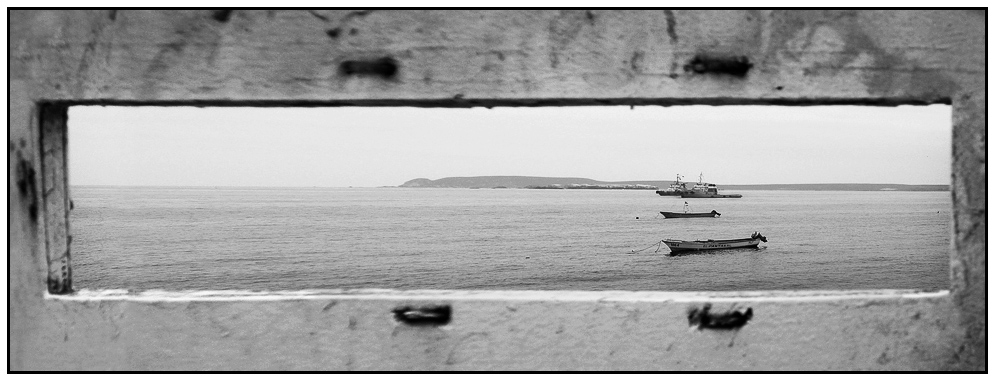
Desplazando los objetos durante la captura registraremos el movimiento…
Haz clic sobre la imagen para ampliarla.

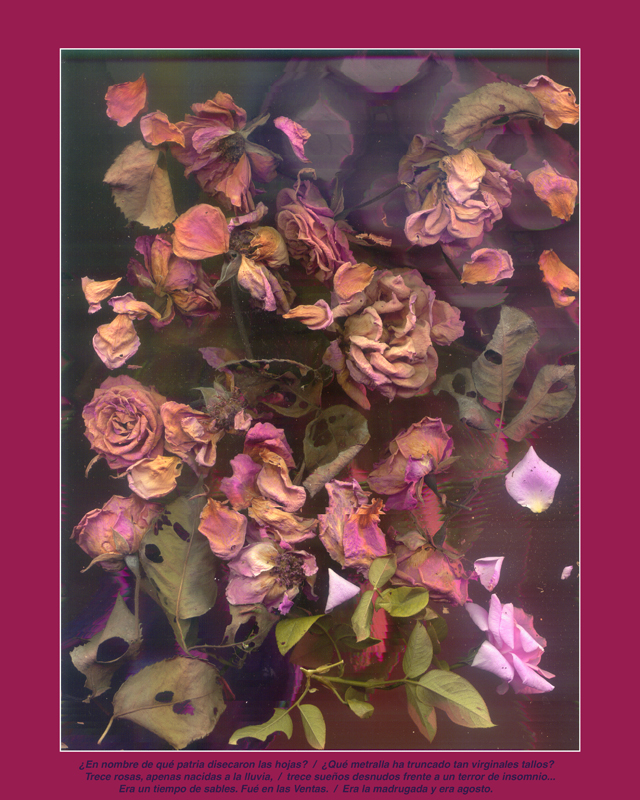
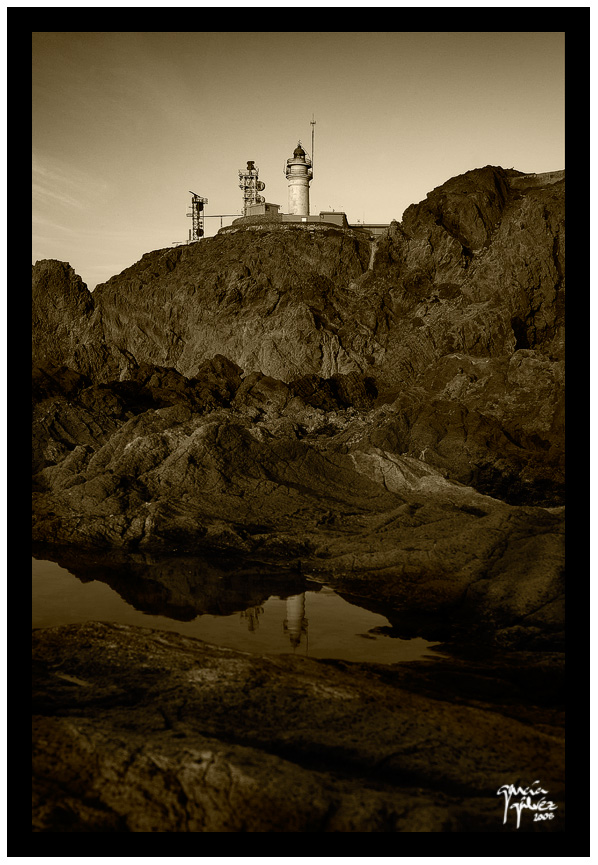
La imagen y la poesía ¡Qué buena pareja! Composición y poesía, autora Matilde Cabello, poeta y escritora de Córdoba (España).
Haz clic sobre la imagen para ampliarla.

RAFAEL MONTES GÓMEZ
1979. Fundación del “Grupo Informal de Fotografia”, que dará paso en el año
1981. a la fundación del grupo “3×1 Colectivo fotográfico”, en Córdoba.
Exposiciones en calles, plazas, barrios, parques… (trípodes, cuerdas y pinzas para colgar las fotografías).
1982. Exposición Colectiva “Fotografia Neurótica”, organizada por 3×1 Colectivo Fotográfico, exposición con
fotógraf@s a nivel nacional.
1984. Asistencia al curso de “Revelado de diapositivas y negativos de color”, celebrado en Granada y organizado
por Laboratorios FotoKit., de Granada
1984-1985.
En la empresa CORTO AUDIOVISUALES, realizando programas para Diputación Provincial y sector
privado. Responsable de Fotografía y Diseño.
1986. Asistencia al curso “Fotógrafos en Acción”, de la Universidad Internacional Menéndez Pelayo, de Santander,
organizado por Kodak.
1986-1988. Responsable de fotografía y publicidad, en la empresa IMAGEN Audiovisuales, de Córdoba.
1987. Inicio de reportajes fotograficos en Marruecos, diferentes viajes, con reportajes de tipo urbano y social.
1988-1993
A partir de Octubre de este año (1988) trabajo individualmente.
He impartido cursos de: Iniciación a la Fotografía, Profundización, Técnicas de laboratorio en B/N, de
Coloreado, Virados y Policromías enColegios, Centros Cívicos, Asociaciones Culturales y Universidad, de
Córdoba.
He realizado trabajos para diversas agencias de publicidad, estudios de diseño, editoriales y bancos de imagen.
Fotografías para el cartel de la FERIA DE MAYO. CORDOBA, 1992
Fotografías para varios folletos sobre CORDOBA EN MAYO.
1989-1994 Fotografias relacionadas con el mundo del Flamenco, guitarra, cante, baile. Experimentación con virajes no
comerciales (preparación de fórmulas antiguas), efectos quimicos de color (Colorvir), iluminación con anilinas y
otros productos.
Exposición “LA MAGIA DEL FLAMENCO”. 33 obras en b/n, color y efectos quimicos de color sobre b/n.
1993. Inicio de colaboración fotográfica con la fotógrafa alemana CORNELIA STEFFENS, que da lugar, en 1994, a la
creación de la empresa FOTOGRAFOS ASOCIADOS.
1995. Grupo de fotografia “AFOTO”, colectivo integrado en el Circulo Cultural Juan XXIII, de Córdoba.
1996. Exposición colectiva de “AFOTO” “…de la calle la feria al realejo”, sobre urbanismo del casco antiguo de
Cordoba , en el circulo Juan XXIII y varias Asociaciónes de Vecinos.
.
1998. Exposición colectiva de “AFOTO” “Joaquin el necio”, fotonovela basada en la cancion del mismo título del
cantautor Albert Plá, en blanco/negro, con virajes y coloreados a mano a base de anilinas, rotuladores, lápices…
Exposición “la Magia del Flamenco”, XXVI Congreso de Arte Flamenco, Lucena (Córdoba).
1999. Exposición “Gritos en los muros”, en la “I Muestra de Arte, Cultura y Espectáculos”, celebrada en Córdoba.
Imparto un taller sobre “Técnicas y efectos en el laboratorio de blanco/negro” en Aracena (Huelva),
2003. Exposición “La Magia del Flamenco” en Aracena (Huelva), en las Jordadas Fotográficas.
Asisto al taller “Fotografía Digital”, en las mismas Jornadas Fotográficas.
2004. Imparto un taller sobre Fotografia Comercial, en Aracena (Huelva)
2005. Asisto al “Taller de Desnudo” en las Jornadas Fotográficas de Aracena (Huelva).
2005-2006 Exposicion colectiva “Esencias de Córdoba” para Cordoba 2016 y C.C. El Arcángel.
Después estuvo itinerando durante un año por los diversos Centros Cívicos Municipales de Córdoba.
2005. Inicio de experimentacion con scanner de opacos. Primeras digitalizaciones.
2006. Continúo experimentando en las posibilidades creativas del escáner.
Preparación de exposición “FLORIPONDIUM DIGITALIS” 52 imágenes digitales capturadas con escaner,
tamaños 40×50 cm.
2007. Exposición FLORIPONDIUM DIGITALIS, Palacio de Orive. Córdoba Mayo.
Exposición GRAPHIAS musicales, en el Teatro Cómico Principal, de Córdoba, Festival de la Guitarra
Córdoba 2007.
FLORIPONDIUM DIGITALIS, mes de Septiembre, en el Jardin Botánico de Córdoba. Sesión de escaneado.
Exposición GRAPHIAS Musicales (20 imágenes a gran tamaño de instrumentos musicales de cuerda) y
FLORIPONDIUM DIGITALIS, en Aracena (Huelva), en las VIII Jornadas Fotográficas,
25/octubre-11/noviembre 2007. Sesión pública de escaneado.
Investigación y experimentación con scanner: imágenes con movimiento y multiimagenes.
Edición impresa del “MANUAL DE USO RE-CREATIVO DEL ESCANER”, por encargo del Área de Cultura del Ayuntamiento de Córdoba.
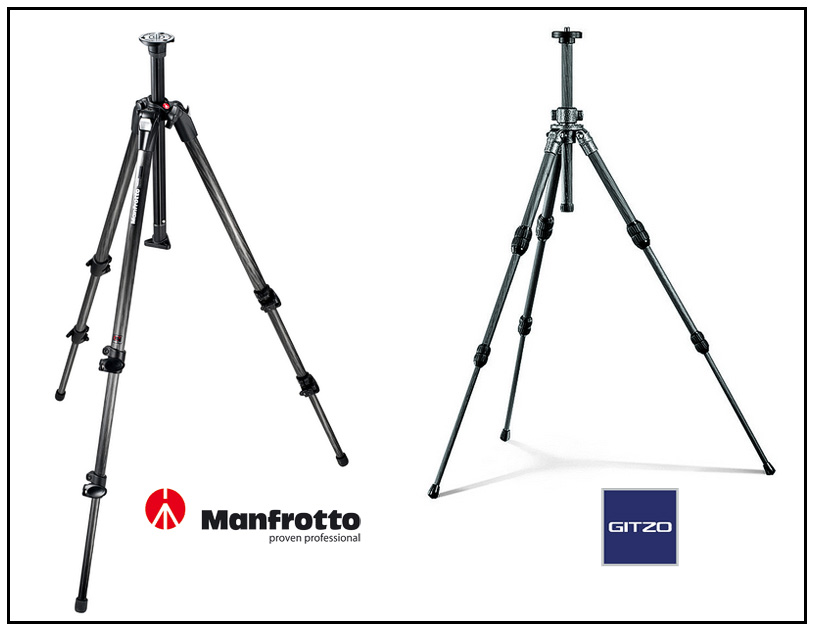
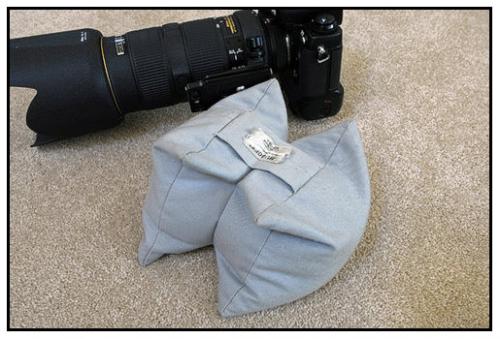


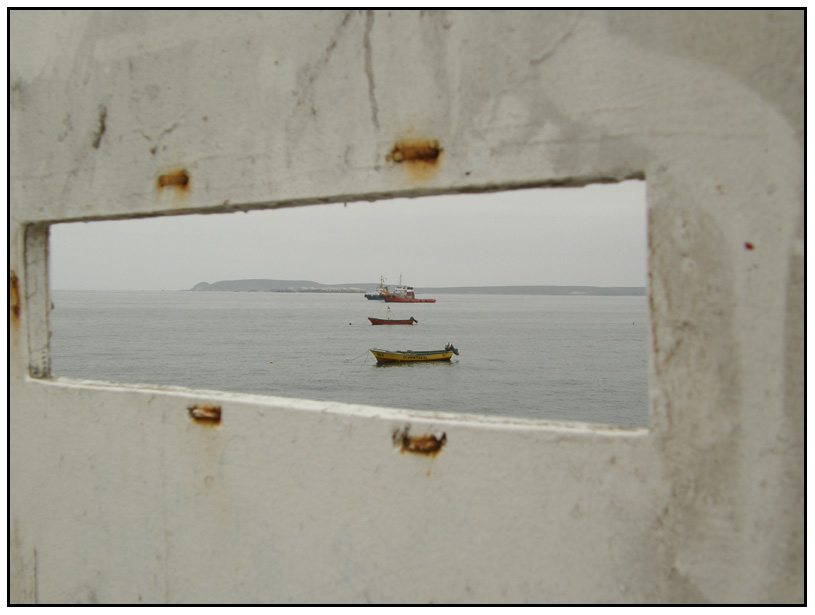
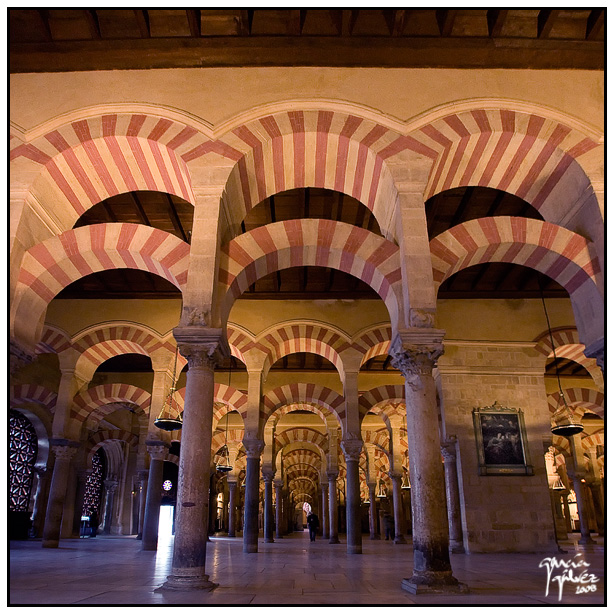
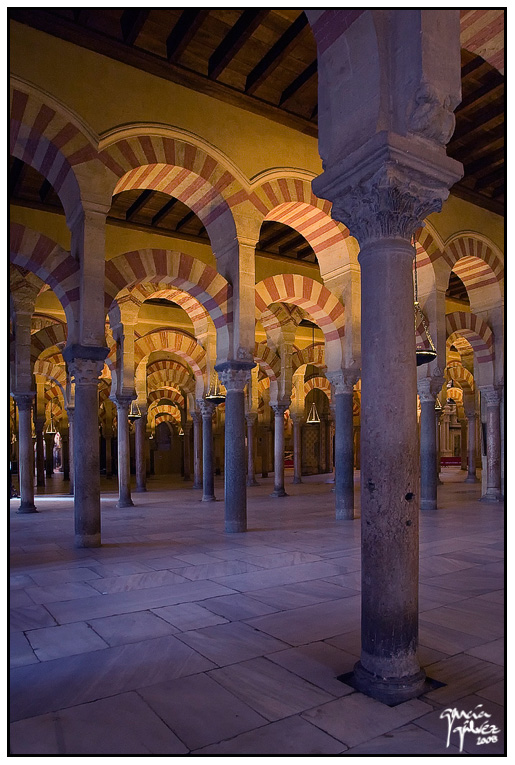
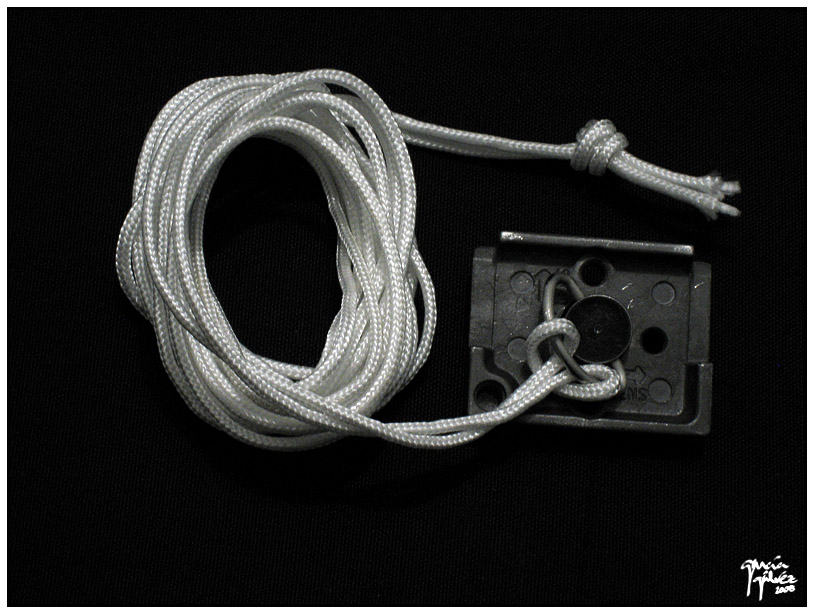
 En el interior de algunos monumentos no permiten fotografiar con trípode (por ejemplo, en la Mezquita-Catedral de Córdoba). Si usamos flash no plasmaremos el encanto de esos interiores y si no usamos trípode la ausencia de nitidez arruinará las fotos… es buen momento para hacer uso de un viejo truco que publicó hace meses