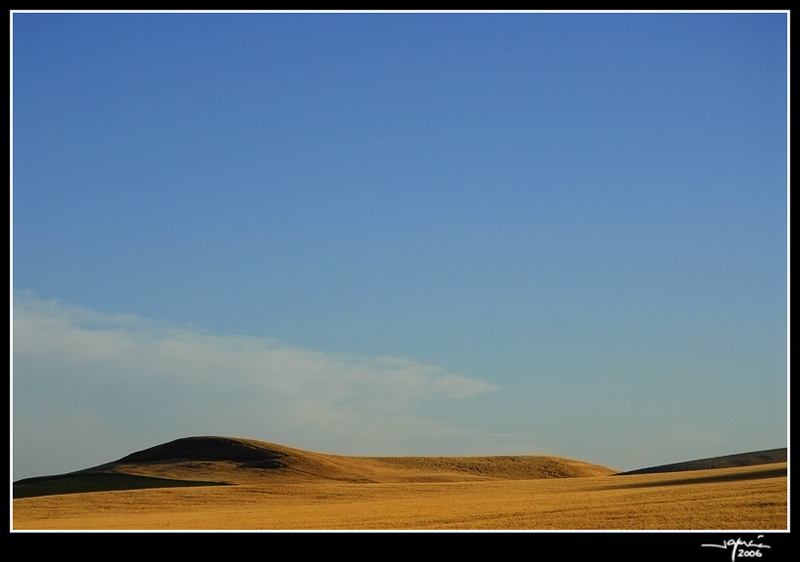
Los filtros degradados de densidad neutra se han utilizado siempre para fotografiar paisajes. El filtro está dividido en dos partes (una oscura y otra clara) que se fusionan gradualmente.
La finalidad de los Filtros de Degradados de Densidad Neutra (ND) es facilitar el equilibrio de las exposiciones entre dos zonas de la imagen.
Por ejemplo, en situaciones en las que el cielo es mucho más luminoso que el suelo, la parte más oscura del filtro reduce ese exceso de luz permitiendo el registro de todos los detalles.
Neutral density degraded filters have always been used to photograph landscapes. The filter is divided into two parts (one dark and the other clear) which gradually fuse together.
The purpose of Neutral Density Degraded Filters (ND) is to provide equilibrium between the exposures of two areas of the image.
For example, in situations in which the sky is much brighter than the ground, the darker part of the filter reduces that excess light allowing all the details to be registered.
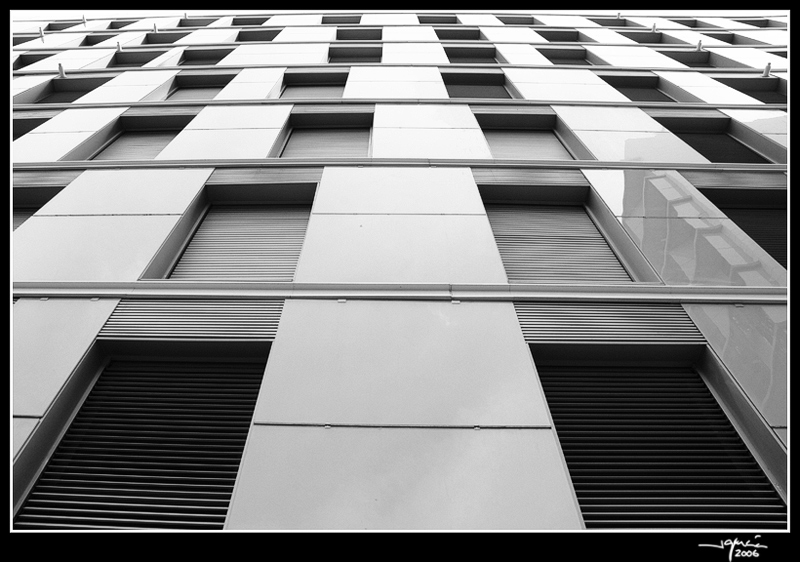
Los filtros degradados más recomendados son los de factor 4, que aplican dos diafragmas menos en la mitad oscura.
En plena Era Digital, cada día es más dificil encontrar filtros ópticos en las tiendas y grandes almacenes. Prácticamente todo lo que hacen los filtros se puede reproducir digitalmente durante el postprocesado.
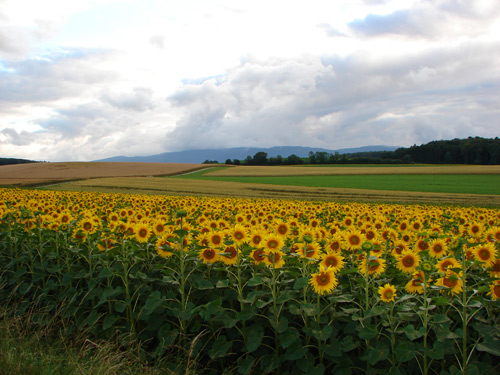
Para aplicar el Efecto Filtro Degradado Neutro vamos a utilizar un bello paisaje de un campo de girasoles obtenida por Carolyne Robbins-Pagel con una SONY CSC-H1.
The most recommended degraded filters are those of
factor 4, which apply two diaphragms less in the dark half.
In this digital age it is more and more difficult to find optical filters in the high street. Practically everything that filters provide can be digitally reproduced during post processing.
In order to apply the Neutral Degraded Filter Effect we shall use a beautiful landscape of a field of sunflowers obtained by Carolyne Robbins-Pagel with a SONY CSC-H1.
Descripción del proceso:
Description of the process:
1.- Abrir la imagen con PhotoShop.
1.- Open the image in PhotoShop.
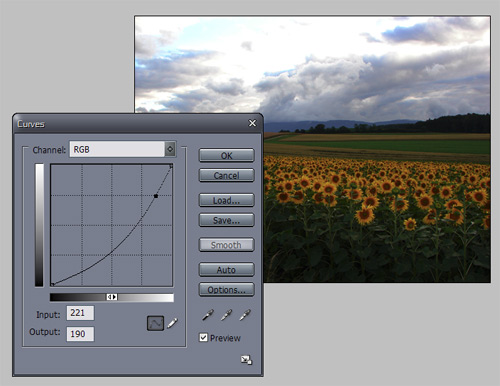
2.- Capa/Nueva Capa de Ajuste/Curvas. Aplicamos un ajuste buscando el deseado contraste del cielo y las nubes. La llamaremos «Ajuste Curvas«.
2.- Layer / New Adjustment Layer / Curves. Adjust searching for the desired contrast of sky and clouds. Let’s call it “Curve Adjustment”.
3.- Nos aseguramos que tenemos seleccionada la capa recien creada, «Ajuste Curvas«.
4.- Con la Herramienta Degradado (Negro-Transparente) dibujamos rectas que comenzarán en el límite inferior de la imagen y terminarán sobre el horizonte. Con cada línea conseguiremos aclarar la parte inferior de la fotografía.
5.- Para terminar le apliqué una máscara de enfoque y un ajuste de la saturación del color.
3.- Ensure that the recently created layer “
Curve Adjustment” is selected.
4.- With the Gradient Tool (Black-Transparent) draw straight lines which begin at the lower border of the image and finish at the horizon. With each line we will lighten the lower part of the photograph.
5.- To finish I applied an Unsharp Mask and a Colour Saturation Adjustment.
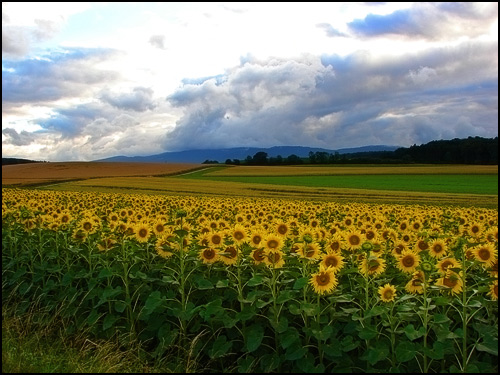
Podemos conseguir resultados espectaculares durante el postprocesado, pero si hubieramos utilizado un filtro degradado para realizar esta fotografía… nos habríamos ahorrado un retoque digital adicional.
We can achieve spectacular results during post processing but if we had used a degraded filter to take this photograph we would have saved ourselves this extra retouching.
